Monday to Saturday
9:00am - 6:00pm
Get Consultation
(+91) 7038870263
E-mail Us
sales@priyaengineering.in
Menu
Jigs And Fixtures
- Home
- Jigs And Fixtures
Manufacturing best practices for jigs and fixtures
Make better fixtures with Priya Engineering


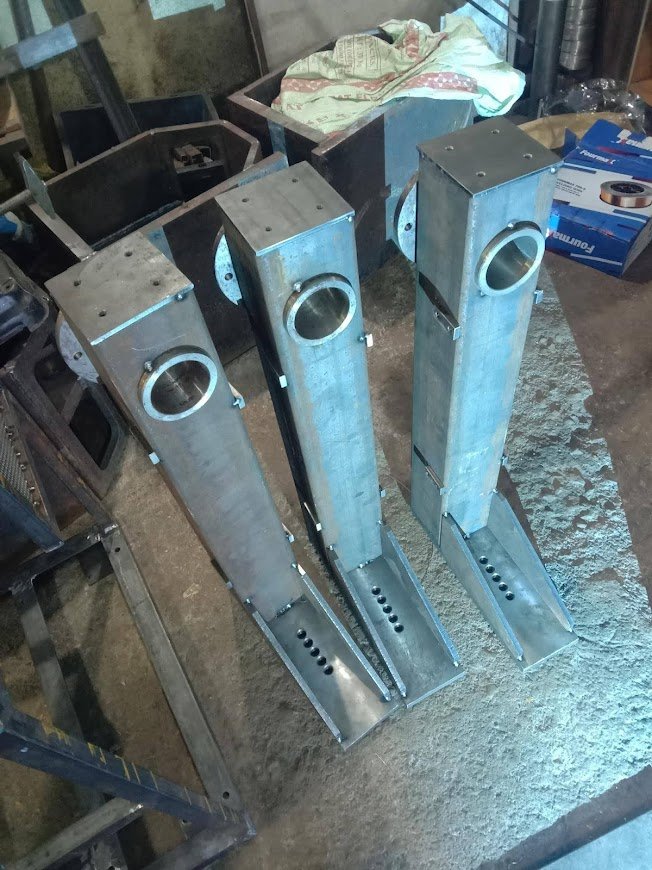
Jigs are tools that hold a manufacturing tool in place as it performs a repetitive task like drilling or tapping holes. Fixtures, on the other hand, don’t guide a manufacturing tool but hold a workpiece steady in a fixed position, orientation, or location. A standard vise is a common household example of a fixture.
Differences aside, both jigs and fixtures are tools that make a big difference. They increase productivity, improve the repeatability of parts, make part assembly and disassembly easier, and even help create a safe working environment. Nearly all automated industrial manufacturing processes rely on jigs and fixtures to consistently build parts that function properly. Engineers can make sure their jigs and fixtures are strong and well-designed by keeping these key considerations in mind.
Jig and fixture design basics
-
The key to manufacturing jigs and fixtures starts with understanding how degrees of freedom work. Any object in space has six degrees of freedom — up/down, left/right, forward/backward, and the ability to rotate about 3 axes (X,Y, and Z). A properly designed fixture needs to restrict these freedoms as much as possible to keep the part locked in position, but not so much that the part is over constrained.
-
Over constraint happens when redundant forces try to do the same job and end up working counterproductively. A four-legged chair is an excellent example of this — the fourth leg is mechanically unnecessary and will cause rocking if the chair is on an uneven surface. At best, over constrained forces will have no effect on the fixtures but in the worst cases, it results in poor part quality and increased risk to the operator.
-
It’s essential for engineers to be precise when it comes to freedoms. A less constrained fixture design is best for parts like castings that have a little more variation, while a more constrained fixture design is best for machined or injection-molded parts with more precise surfaces.
-
A successful jig and fixture design takes into account how the tool will operate as well as how it will feel to operate the tool. Each application will differ, but engineers should always incorporate human-centric design into their plans. Start with these fix jig and fixture design calculations:


-
Whenever possible, design jigs and fixtures for one-handed operation. This way, operators can use one hand to hold the fixture and the other for part positioning or stabilizing.
-
Design a jig or fixture that doesn’t need human assistance to hold a part during secondary operations.
-
Opt for geometries that make misalignment errors obvious. This can reduce workplace injury.
-
Consider how the jig or fixture will fit into the overall production workflow.
-
Try to create a design that uses the fewest steps. This trims cycle times and keeps fatiguing repetitive motions to a minimum.
-
Jigs and fixtures can be manufactured using CNC machining and 3D printing, but in general, 3D printing offers a number of advantages. In this case, additive manufacturing is cheaper and faster than CNC machining by a wide margin. Also, only 3D printing offers engineers the flexibility to frequently re-optimize design.
Manufacturing best practices for jigs and fixtures


-
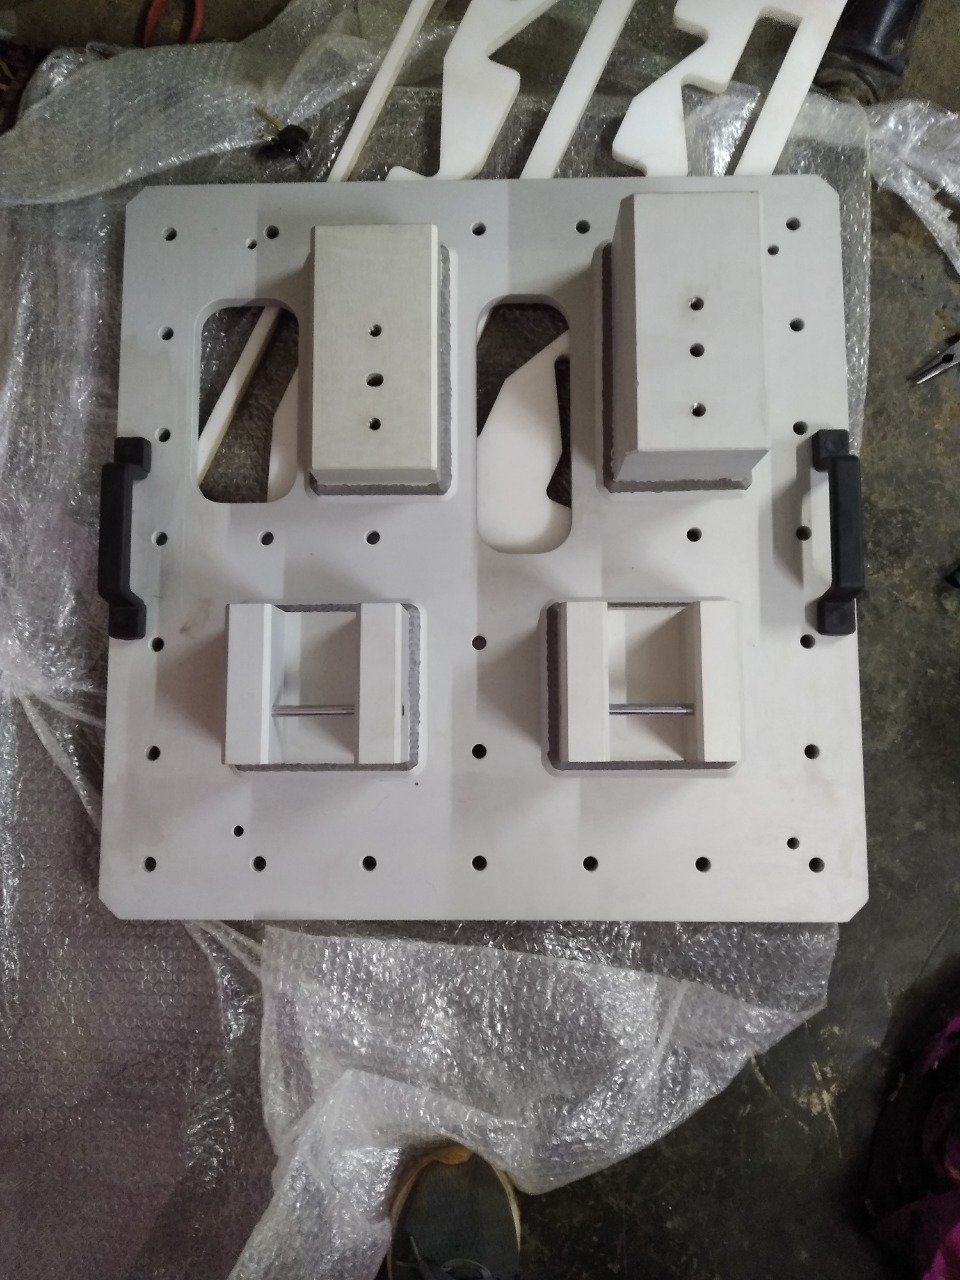
Jigs and fixtures can be built using metal or plastic materials, but plastic tends to be more affordable and can often meet all performance requirements. Industrial fused-deposition modeling (FDM), HP Multi Jet Fusion, and Carbon Digital Light Synthesis (DLS) give excellent results, but stereolithography (SLA) and selective laser sintering (SLS) can be good options, too. For rapid injection molding, engineering-grade thermoplastics can easily produce isotropic parts in high volumes.
-
For high-performance, durable jigs and fixtures, keep these manufacturing best practices in mind:
-
3D printing jigs and fixtures enables product teams to increase design complexity without increasing part cost, so it will behoove designers to take advantage of this principle during the design phase. Consider what additional functionalities can be built to improve the performance of the part.
-
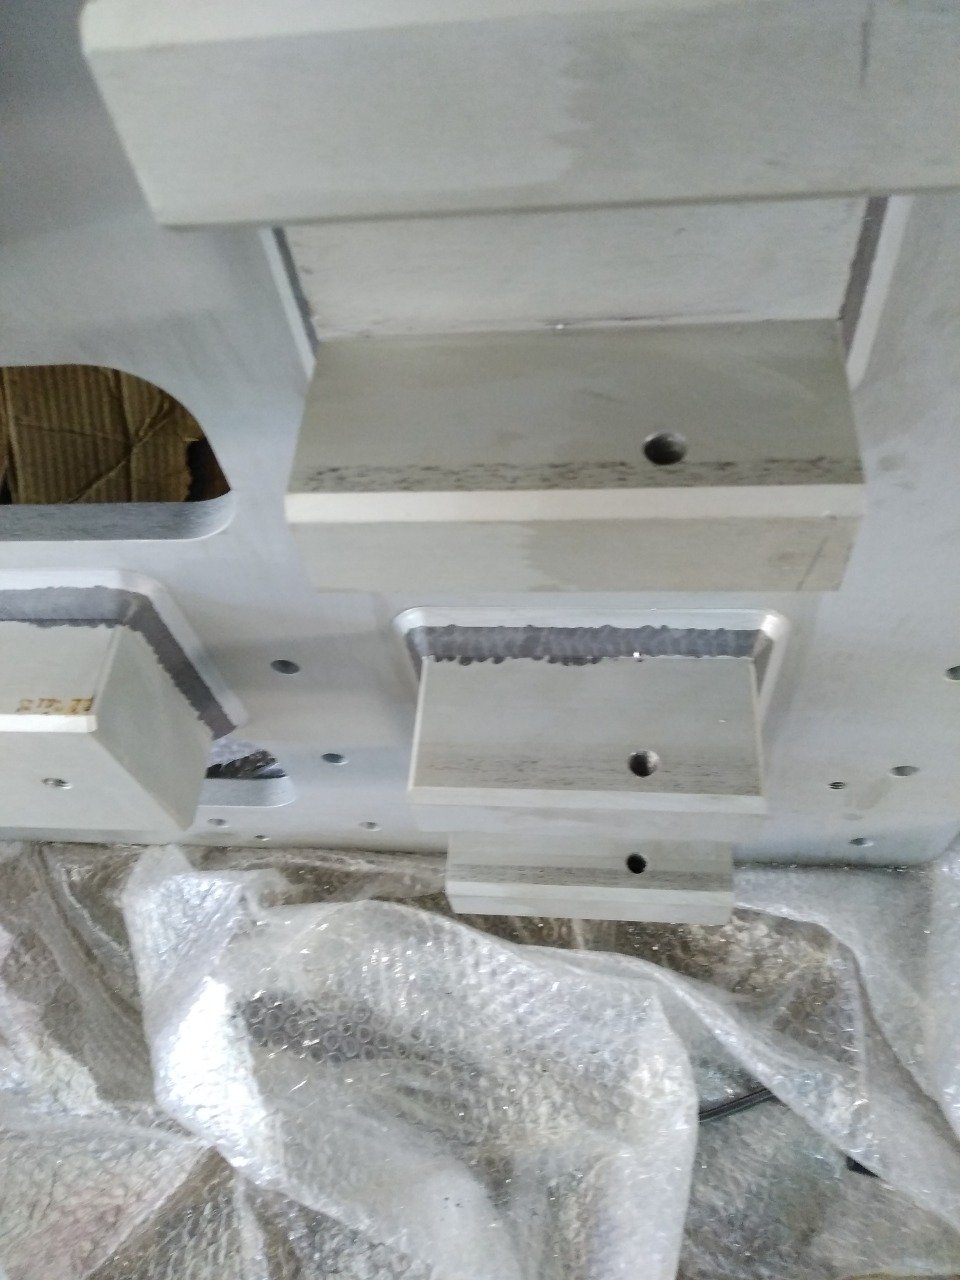
Verify the dimensional accuracy of the fixture using metrology tools and build datum features into the design to make inspection and verification easier.
-
Use ribs and fillets to increase rigidity.
-
Avoid warping caused by SLA resins by loosening any bolts and relieving clamping forces after secondary operations are complete.
-
Use springs to ease ejection.
-
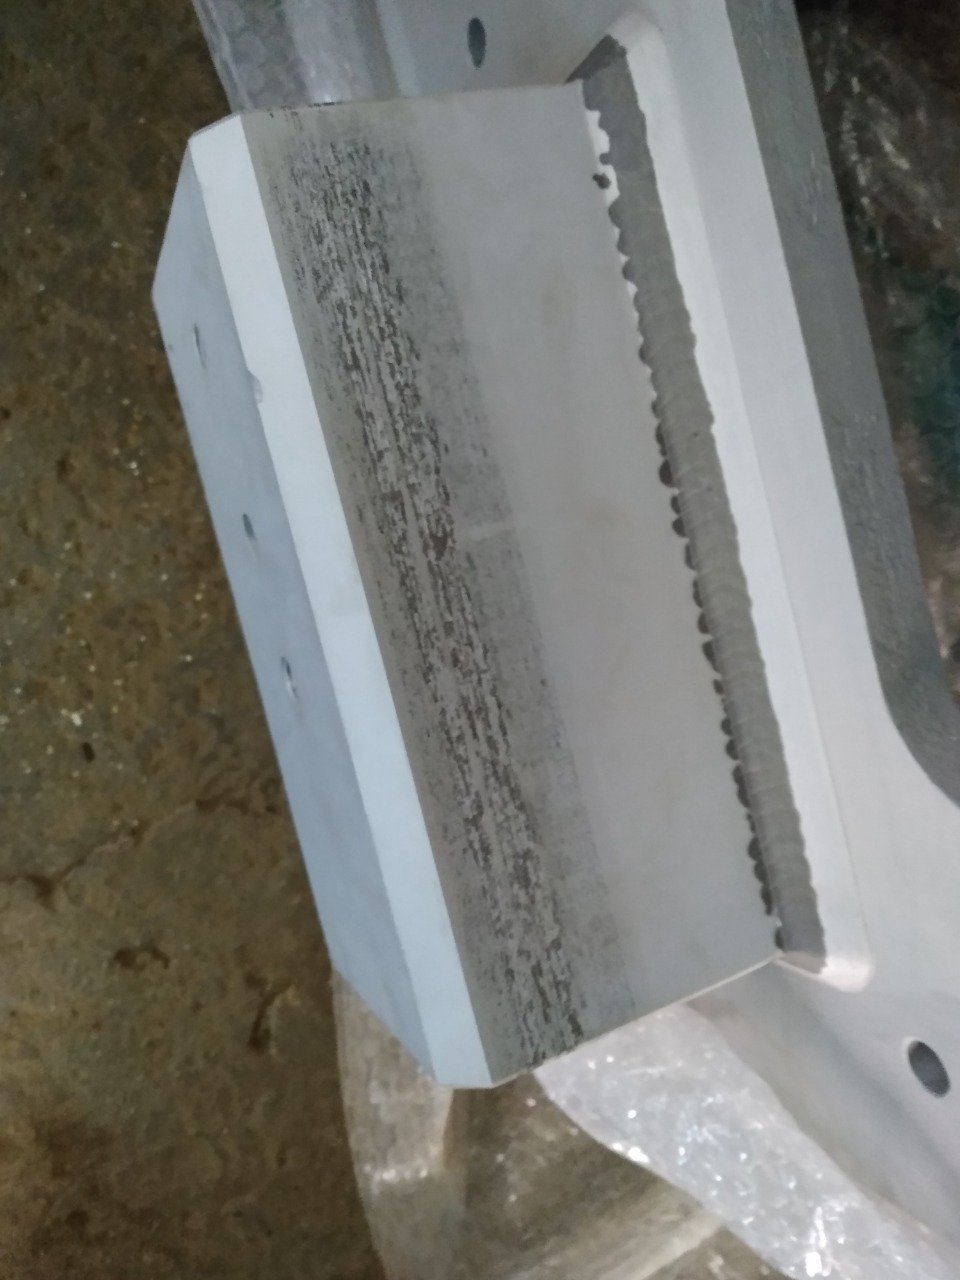
If manufacturing via CNC machining, account for debris in the design plan. For example, engineers can leave a gap in the jig to allow burrs to form without interfering with the tool. Minimize any small gaps, grooves, or pockets where chips can expand into wedges.
-
After the jig or fixture has been manufactured, it must be validated for form and function. Engineers should compare the completed tool against the original CAD model to make sure it’s dimensionally sound. A well-designed fixture will support the part and hold it in place, once clamping is applied, without any tilting, bending, or shifting.